
Uniform Care Instructions That Protect Fit, Color, and Logos
August 27, 2026
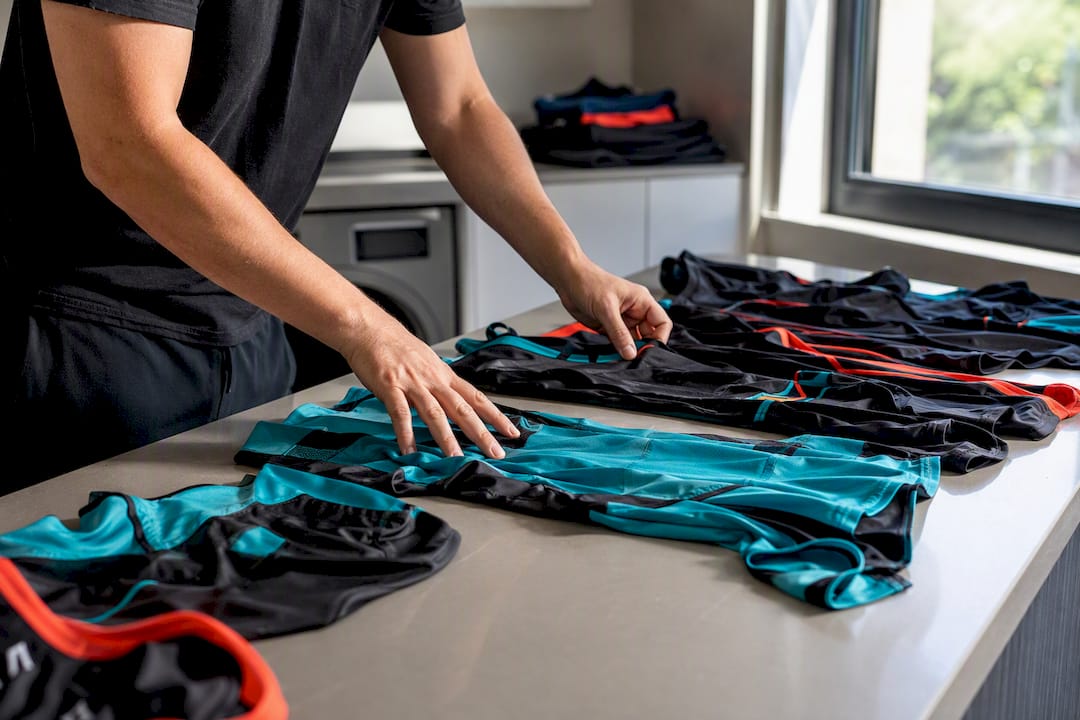
Uniform Care Instructions That Protect Fit, Color, and Logos
Do the first wash warm if the label allows it, then switch to cold water for every wash after that, and treat stains before they set. That single sequence prevents most of the fading, shrinking, and cracked-logo problems that shorten a uniform’s life.
- First wash: warm water helps set dyes; check the care label before running it.
- Every wash after: cold water only, to lock in color and protect elastic fibers.
If you’re not sure what a care tag symbol means, skip the dryer’s high heat setting and skip ironing directly over logos until you’ve confirmed the fabric. Guessing wrong on either one is how a $30 jersey turns into a $30 lesson.
Key Takeaways
Uniform longevity comes down to a warm first wash, cold water after that, immediate stain treatment, and low heat everywhere else.
| Point | Details |
|---|---|
| First wash sets the tone | Wash warm once if the label allows, then switch to cold water for every wash after. |
| Sort new darks separately | Keep new dark uniforms apart from lighter items for their first two to three washes. |
| Treat stains before drying | Heat sets stains permanently, so pretreat grease, blood, and grass marks before they hit the dryer. |
| Protect decorations by turning inside out | Wash decorated garments inside out and avoid ironing directly over prints or embroidery. |
| Rotate at least two sets per person | Rotation cuts total wash cycles per garment and extends the uniform’s usable life. |
Table of Contents
- Uniform Care Instructions for a Repeatable Wash Routine
- Stain Removal Steps for Common Uniform Problems
- Caring for Embroidery, Screen Prints, and Performance Fabric
- How Often Should You Wash and Rotate Uniforms?
- Storing and Repairing Uniforms Between Seasons
- Jam4apparel’s Take on Production-Backed Uniform Care
- Uniform Care Instructions: Quick, Supplier-Approved Steps
- Sources
Uniform Care Instructions for a Repeatable Wash Routine
A uniform closet full of mismatched fading and shrunken jerseys usually traces back to skipped steps, not bad luck. Building a routine that every parent, coach, or equipment manager follows in the same way solves most of it.
1. Sort before you wash. Separate by color first, then by soil level. New dark uniforms bleed dye for their first several washes, so keep them away from lighter jerseys during that period.
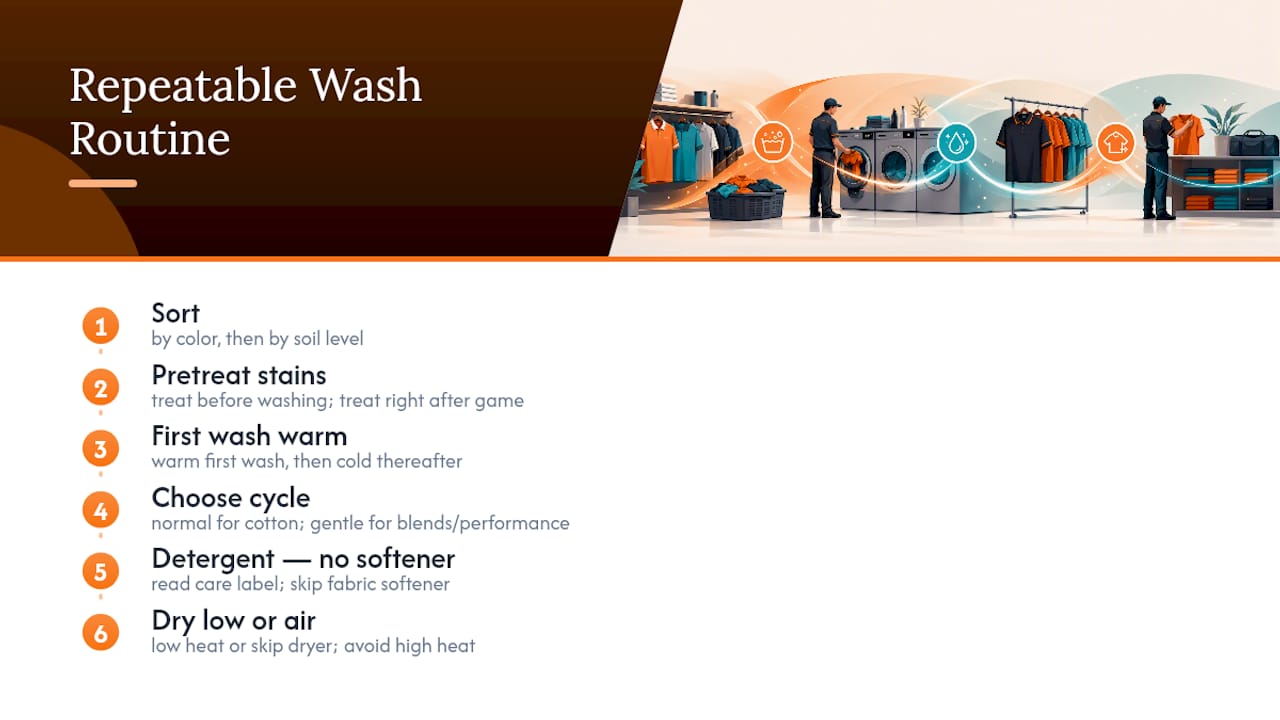
2. Pretreat anything with a visible mark. Grass, mud, or sweat stains set permanently once they hit a hot dryer, so treat them before the item goes into the machine, not after.
3. Run the first wash warm. Varsity’s uniform care guidance recommends a warm first wash to help set dyes, followed by cold water on every subsequent load to protect color and elasticity.
4. Choose your cycle by fabric. Cotton-based uniforms tolerate a normal cycle. Blends and performance fabrics do better on gentle, since the tighter weave that wicks moisture also holds heat and friction damage longer.
5. Pick the right detergent, skip the softener. The American Cleaning Institute advises reading the garment care label, washing uniforms separately from regular laundry, and using cold water when protecting color matters most. Fabric softener coats fibers with a waxy residue that reduces moisture-wicking performance and can dull screen-printed graphics over time, so leave it out of the load entirely.
6. Dry on low, or skip the dryer altogether. High heat is the single fastest way to shrink a uniform out of size, so treat it as the setting to avoid rather than the default.
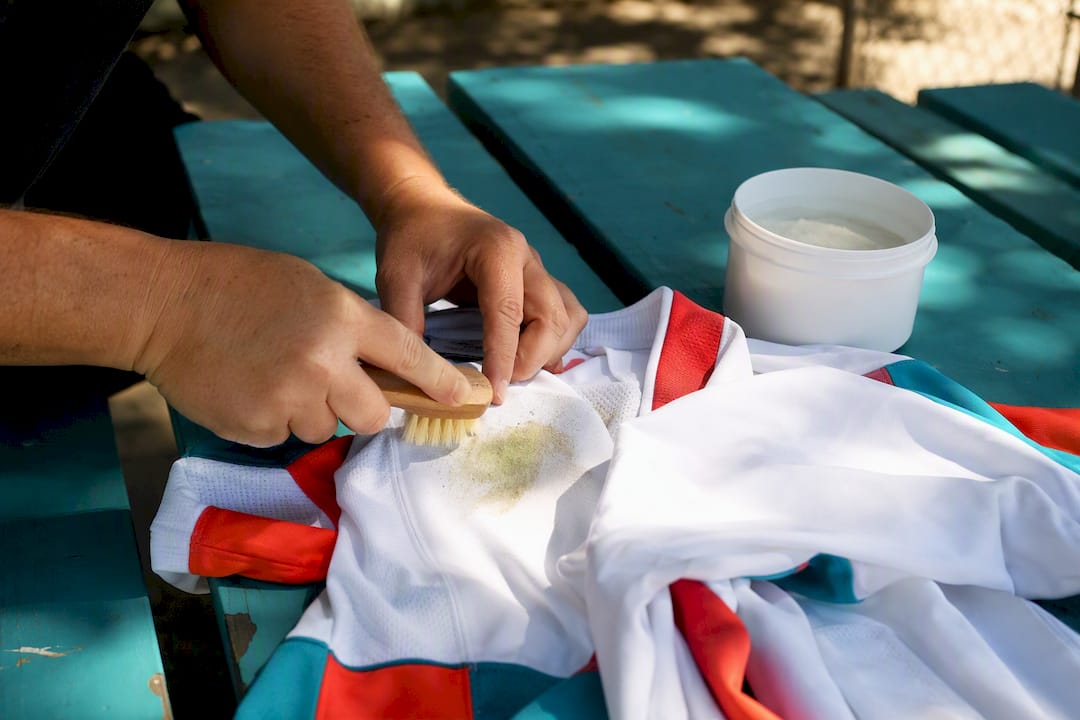
Pro Tip: Keep a small tub of oxygen-based stain remover and a soft-bristle brush in your equipment bag. Treating a grass stain in the parking lot after the game beats trying to remove it three days later after it’s baked into the fibers in a hot car.
Stain Removal Steps for Common Uniform Problems
Different stains need different chemistry, and using the wrong one just sets the mark deeper. A quick reference by stain type saves more uniforms than any single miracle detergent.
- Grease and food stains: Work a small amount of dish soap directly into the stain, let it sit for 5 to 10 minutes, then wash as usual. Dish soap cuts oil far more effectively than standard laundry detergent.
- Blood, sweat, and other protein stains: Rinse in cold water immediately. Hot water cooks the protein into the fabric, making it permanent. Wash with an enzyme-based detergent, which breaks down protein bonds that regular detergent leaves behind.
- Grass and mud: Let mud dry completely, brush off the excess, then treat the remaining stain with a stain stick before washing.
- Ink: Blot, don’t rub, with rubbing alcohol on a clean cloth, working from the outside of the stain inward.
- Yellowing or dinginess on white uniforms: Soak in an oxygen bleach solution for at least 30 minutes before the regular wash cycle.
Following the American Cleaning Institute’s core rule (read the label, pretreat, wash separately, protect color with cold water) resolves the majority of stains on the first attempt. If a stain survives two treatment attempts, stop running it through the dryer. Heat sets whatever residue remains, and at that point you’re better off air-drying and trying a different pretreatment than risking a permanent mark.
Caring for Embroidery, Screen Prints, and Performance Fabric
Decorated uniforms need a different level of care than plain garments, because the decoration usually fails before the fabric does. Turn every uniform inside out before it goes into the washer. The American Cleaning Institute points to this as a simple habit that protects printed logos from the abrasion and cracking caused by rubbing against other garments and the drum itself. Secure Velcro closures and zip up any zippers first, since exposed hooks snag on embroidered thread and pull it loose.
- Wash inside out, always, no exceptions for game jerseys.
- Dry on low heat or air dry, and never iron directly over a screen print or DTF transfer. If pressing is unavoidable, iron on the reverse side or place a thin cloth over the design first.
- Never cut the stabilizer threads visible on the inside of embroidered patches. They’re structural, and cutting them causes the design to unravel or pucker over time.
- Skip fabric softener on performance and moisture-wicking fabrics. It coats the fibers and blocks the wicking properties the fabric was built for.
Pro Tip: If a loose thread appears near an embroidered logo, trim it flush with small scissors rather than pulling it. Pulling can unravel several rows of stitching in seconds.
Structured uniforms with satin panels or bullion trim have their own limits. Marlow White’s uniform care guidance recommends limiting professional dry cleaning to roughly once every three years for traditional uniforms, since the solvents used in the process degrade fabric integrity and delicate trims faster than most people expect.
How Often Should You Wash and Rotate Uniforms?
Washing cadence depends entirely on how hard the uniform gets used, not on a fixed weekly schedule. Heavy-soil roles need more frequent washing than most managers assume.
- Heavy soil (football, wrestling, food-service style uniforms): wash after every single use.
- Light use (school uniforms, dress shirts, khakis): two to three wears is usually fine unless visibly soiled, per general work-uniform washing guidance.
- Rotation: keep at least two full sets per athlete or employee where budget allows. Rotating sets cuts the total wash cycles each garment endures over a season, which directly extends its life.
- Repair vs. replace: a loose seam or missing button is a five-minute fix. A cracked print across the chest or a torn seam that’s already been patched once usually means it’s time to reorder rather than repair again.
Teams managing full uniform kits should extend that same rotation logic to footwear, since proper shoe rotation and cleaning reduces breakdown just as much as it does for jerseys and shorts.
Storing and Repairing Uniforms Between Seasons
How a uniform dries and where it sits between games matters almost as much as how it’s washed. Air-dry when you can, and use low heat with an early pull (remove it while still slightly damp) when you can’t, since Laundry with Olivia’s guidance on work-uniform care notes that high dryer heat is one of the fastest ways to wear out prints and elastic trim.
- Use shaped hangers for jackets and structured pieces rather than folding them into a bin.
- Block sweaters or knit items flat to dry so they keep their shape instead of stretching on a hanger.
- Avoid sealed plastic bags for long-term storage. Trapped moisture invites mildew, even on fabric that felt dry when you packed it.
- Fix loose buttons and small seam separations right away with a needle and thread. A five-minute repair now prevents a full seam blowout at the worst possible moment.
Jam4apparel’s Take on Production-Backed Uniform Care
Suppliers recommend a warm first wash followed by cold water for a practical reason: dye needs a bit of heat to set fully, but every wash after that risks fading and shrinkage if you keep using warm water. Jam4apparel builds that same logic into every custom order it produces in house, whether the decoration is embroidery, screen print, or DTF transfer.
Embroidered and DTF-decorated garments get extra handling instructions in every order confirmation, because a $2 mistake in laundry settings can ruin a $40 decorated jersey. Turning the garment inside out and avoiding direct heat on the design isn’t optional advice. It’s the difference between a logo that lasts three seasons and one that cracks by October.
A uniform’s decoration usually fails before its fabric does. Wash smart and the print outlasts the jersey it’s on.
For teams building out a detergent routine, a gentle option like ComfortWash by Hanes pairs well with decorated garments since it’s formulated for repeat washing without breaking down fabric fibers.
Uniform Care Instructions: Quick, Supplier-Approved Steps
Most of the advice floating around about uniform care overcomplicates a fairly simple routine. The research backs up something closer to common sense: warm water once to set the dye, cold water every time after, and treat stains the day they happen rather than the day before the next game. That sequence, pulled straight from manufacturer guidance like Varsity’s, does more for garment lifespan than any specialty detergent or aggressive stain remover.
Where conventional advice falls short is decoration care. Plenty of wash guides treat a uniform as just fabric, when the print or embroidery on it is usually the first thing to fail. Turning garments inside out and keeping heat away from decorated areas matters more than most managers realize, and it costs nothing extra to do.
If you only change one habit this season, make it the cold-water switch after the first wash. It’s the single easiest fix with the biggest payoff for color retention and fit.
— Adam
Sources
- VARSITY UNIFORM WASHING INSTRUCTIONS
- Cleaning Uniforms | The American Cleaning Institute (ACI)
- UNIFORM CARE & ALTERATIONS GUIDE — Marlow White
- How to Wash Work Uniforms: Keep Them Professional and… — Laundry with Olivia
Recommended
Ready to print your design?
Screen print, embroidery, and DTF — no minimums on many styles.