How Mascots Shape School Apparel: A Guide for Administrators
August 14, 2026
How Mascots Shape School Apparel: A Guide for Administrators
Your school mascot is the single most important design and production constraint for every piece of apparel you order. It determines your color palette, your artwork file requirements, which decoration methods will work, and whether students will actually wear what you produce. Get it right and spirit wear sells itself. Get it wrong and you end up with boxes of unsold shirts and a vendor asking for files you don’t have.
Three things flow directly from that reality:
- Design system needs: Every garment treatment — from a full-body chest graphic to a left-chest cap logo — must trace back to a single, approved mascot artwork system with multiple versions ready to go.
- Student adoption: Students adopt spirit wear when they feel ownership of the mascot. Involving them early in design decisions turns a logo into a symbol they want to wear.
- Production constraints: A mascot with fine line detail and gradient shading will fail in embroidery and struggle in screen printing. Simplification for production is not a compromise; it’s a requirement.
Penn State’s Nittany Lion and UC Santa Cruz’s Banana Slug sit at opposite ends of the mascot spectrum — one a traditional predator, one a garden invertebrate — yet both drive deep apparel adoption because the identity fits the institution. Jam4apparel works with schools at every stage of this process, from art prep through production, and the pattern is consistent: schools that treat the mascot as a brand system rather than a clip-art choice get better apparel and better results.
Key Takeaways
A school mascot is the primary design and brand anchor for every apparel decision, from file prep to decoration method to student launch strategy.
| Point | Details |
|---|---|
| Build a multi-version artwork system | Prepare full-color vector, one-color, head-only, and embroidery-ready files before contacting any vendor. |
| Match method to mascot treatment | Screen printing suits large chest graphics; embroidery fits cap logos; DTF handles short runs and full-color detail. |
| Enforce a single source of truth | Store approved files in one access-controlled location and require all vendors to pull from it. |
| Involve students early | Student input in design and ambassador-led launches consistently drive higher adoption and organic reach. |
| Check ownership and sensitivity first | Confirm copyright assignment, run a USPTO trademark search, and complete a cultural-sensitivity review before production. |
| Jam4apparel for production-ready results | Jam4apparel offers in-house screen printing, embroidery, DTF, patches, and free design proofs for school mascot apparel. |
Table of Contents
- What is a school mascot and why does every school need one?
- How does a mascot determine your apparel choices?
- What does vendor-ready mascot artwork actually require?
- Which decoration method fits which mascot treatment?
- How do you keep mascot branding consistent across all apparel?
- What do mascot apparel orders actually cost and how long do they take?
- How does mascot apparel drive school spirit, fundraising, and enrollment?
- What legal and cultural checks must you run before producing mascot apparel?
- What do successful mascot-apparel programs actually look like?
- How do you launch or refresh mascot apparel from scratch?
- What Jam4apparel has learned from producing mascot apparel
- Jam4apparel’s mascot apparel services
- Sources
What is a school mascot and why does every school need one?
A school mascot is a character or symbol — animal, object, or figure — that represents the school’s identity, values, and community. It appears on uniforms, signage, social media, merchandise, and in live performances, functioning as a central branding tool that creates unity, builds pride, and signals belonging to students, parents, and alumni alike.
Three purposes drive mascot adoption at schools across the country:
- Unity and belonging: A shared symbol gives students, staff, and families a common reference point. Wearing the mascot signals membership in something larger than a classroom.
- Brand recognition: Consistent mascot use across apparel and channels builds visual recognition that extends beyond campus. A parent spotting your school’s hoodie at a grocery store is a low-cost brand impression.
- Community signaling: A well-executed mascot communicates professionalism and institutional pride, influencing how parents and prospective students perceive a school before they ever visit.
Penn State’s Nittany Lion illustrates how a mascot can become a deeply entrenched cultural symbol that embodies institutional stories across generations. UC Santa Cruz’s Banana Slug shows the opposite lesson: a mascot doesn’t need to be fierce to work. It needs to fit. The Slug was chosen by students precisely because it reflected the campus’s unconventional identity, and that authenticity is exactly why it drives apparel sales and alumni nostalgia decades later.
Mascots also have a longer institutional history than most administrators realize. They evolved from local and regional references into enduring identity elements used across programs, merchandise, and recognition ceremonies, reinforcing continuity across student generations.
How does a mascot determine your apparel choices?
The mascot doesn’t just appear on back-to-school clothes apparel. It dictates which products to prioritize, how artwork must be treated for each surface, and where placement will drive the most visibility and adoption.
Product types and mascot treatment
Different products call for different mascot treatments:
- Uniforms (game jerseys, PE shirts): Typically use a simplified wordmark or head-only mark for clarity at distance. Full-body mascots are rare on uniforms because they compete with player numbers.
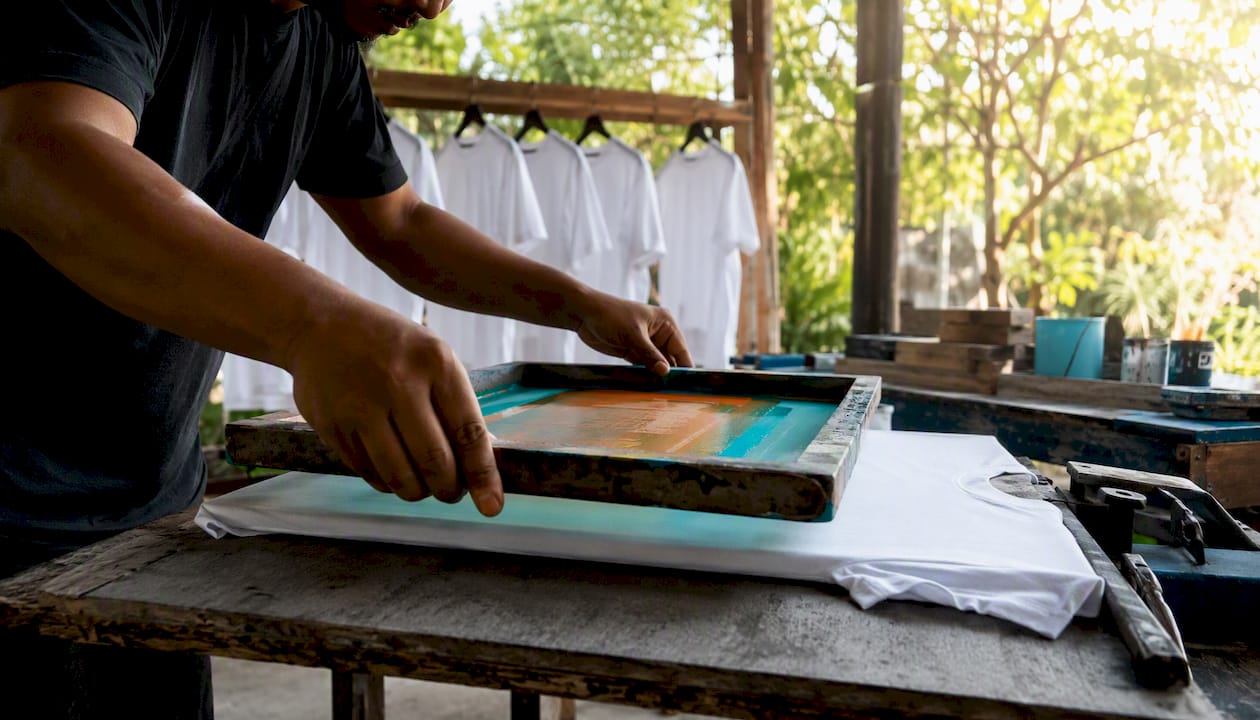
- Spirit wear (T-shirts, hoodies, crewnecks): The natural home for full-body mascot graphics. Center-chest placement on a T-shirt gives the most canvas; a bold, expressive mascot graphic here is what students actually want to wear.
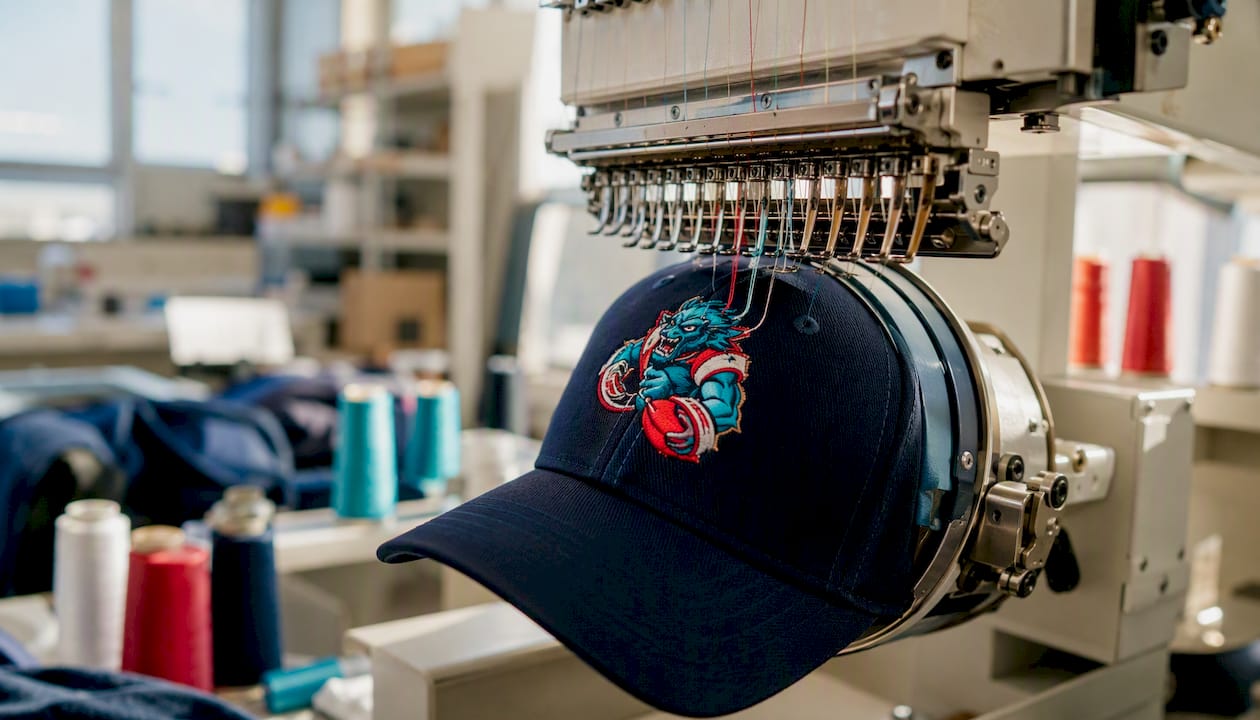
- Headwear (caps, beanies): Requires a simplified head-only or abstract mark. Embroidered cap logos must work at roughly 2–3 inches wide, which means fine detail disappears.
- Patches and accessories: Woven or embroidered patches on jackets and bags work well with simplified, high-contrast mascot marks. Patches are also a cost-effective way to add mascot branding to garments you didn’t decorate originally.
Visual style and placement rules
The mascot’s visual treatment should match the garment’s purpose and the audience’s expectations. Full-body illustrations work on spirit wear. Head-only marks work on caps and left-chest placements. A simplified one-color mark works on dark garments where a full-color version would require too many ink layers.
Placement by garment type:
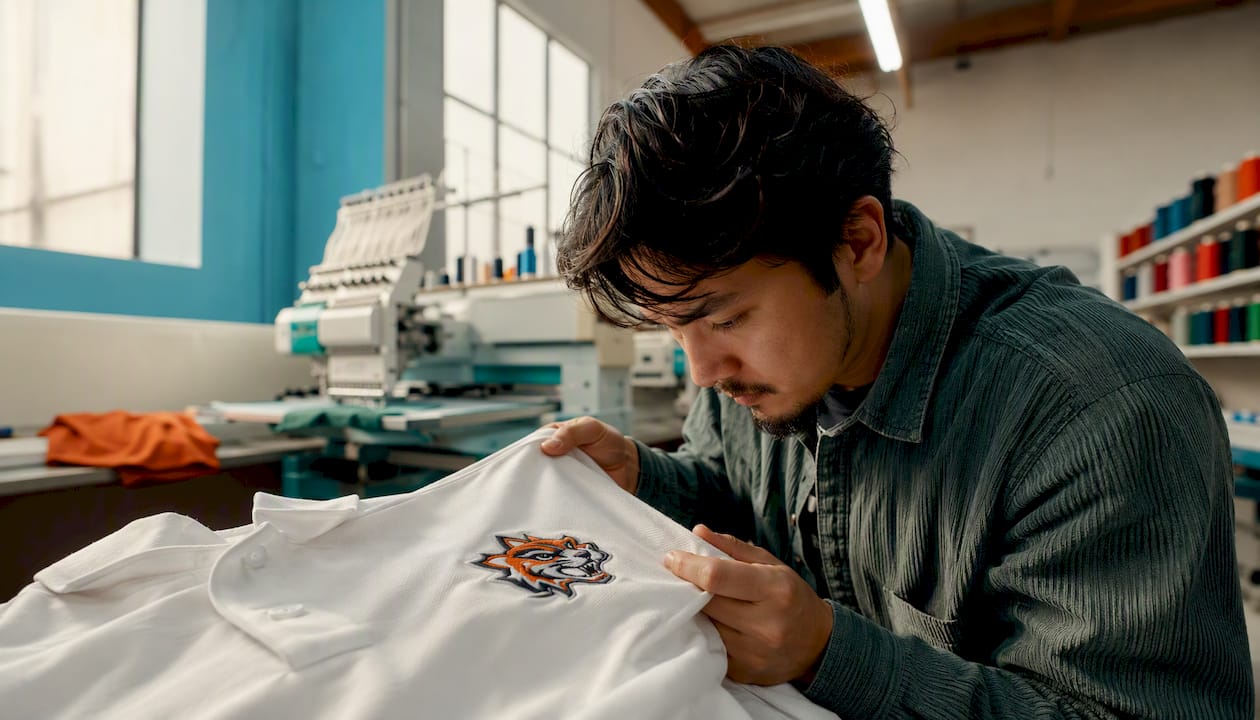
- Left chest: Standard for polos, staff shirts, and athletic jackets. Works best with a simplified head or wordmark, roughly 3–4 inches wide.
- Center chest: The power position for T-shirts and hoodies. Full-body or large head-only graphics, 10–12 inches wide, perform best for student adoption.
- Back: Strong for spirit wear and event shirts. Full-body mascots with school name and year read well at this scale.
- Sleeve and hood: Secondary placement for additional branding. Usually a small wordmark or simplified mark.
Iconic mascots like the Nittany Lion appear in multiple treatments across Penn State’s merchandise ecosystem — full-body, head-only, and abstract mark — because the brand system was built to scale. Nontraditional mascots like the Banana Slug succeed when the treatment leans into the mascot’s personality rather than trying to make it look generic. Distinctive silhouettes and age-appropriate expressions measurably increase recognition and emotional connection, which is the design psychology reason to resist the urge to make every mascot look like a generic sports logo.
What does vendor-ready mascot artwork actually require?
This is where most school apparel projects break down. Administrators hand a vendor a JPEG pulled from the school website and wonder why the embroidered result looks muddy. The artwork system is the foundation.
Required file versions
Every mascot apparel program needs these files before you contact a vendor:
- Full-color vector (.AI or .EPS): The master file. Scalable to any size without quality loss. This is what screen printers and DTF vendors need.
- One-color vector: A simplified version that works in white on dark garments or black on light ones. Not just a color swap — sometimes requires redrawing to eliminate detail that disappears at one color.
- Head-only simplified mark: Cropped and simplified for cap logos, patches, and left-chest embroidery.
- Embroidery-ready file or convertible vector: Embroidery digitizing converts vector art into stitch paths. Clean vectors with minimal overlapping shapes digitize better and cost less to rework.
- High-res PNG with transparency: For digital mockups, web use, and DTF printing.
- Spot-color separations: Required for screen printing. Each color in the design prints as a separate layer; your vendor needs to know the exact Pantone or spot-color codes.
Design rules that prevent rework
Overly complex logo details fail in embroidery and often struggle in screen printing. Prioritize simplified proportions and exaggerated features for visibility. Specific rules:
- Minimum stroke width of 1.5–2 points at final print size. Thinner strokes disappear in embroidery and fill in during screen printing.
- Minimum readable text size of 0.25 inches tall for embroidery; smaller text becomes unreadable stitching.
- Avoid gradients and photographic effects in any file destined for screen printing or embroidery. DTF can handle gradients, but screen printing cannot without halftone dots that soften the image.
- Keep color count to 4 or fewer for screen printing to control cost. Each additional color adds a screen setup fee.
Pro Tip: Build a one-page art spec sheet for every vendor brief. Include your Pantone color codes, approved file versions, minimum sizes, and a contact for artwork approval. Paste it into every quote request and you’ll cut revision rounds in half.
Which decoration method fits which mascot treatment?
Matching the mascot artwork to the right decoration method is a production decision that affects cost, quality, and turnaround time. Here’s how the methods map to common mascot treatments.
Method-to-use mapping
| Decoration Method | Best Mascot Use | Key Constraint |
|---|---|---|
| Screen printing | Multi-color chest graphics, back prints, event shirts | Minimum order quantities; each color adds cost |
| Embroidery | Left-chest logos, cap logos, polo shirts, staff uniforms | Stitch count limits detail; gradients don’t translate |
| DTF (Direct-to-Film) | Photo-realistic mascots, small runs, full-color detail | Slightly different hand feel; best for short runs |
| Woven/embroidered patches | Jacket logos, bag accessories, award patches | Requires simplified artwork; minimum order applies |
Vendor-brief checklist
When you send a quote request, include:
- All required file versions (listed above)
- Pantone or spot-color codes for every color in the mascot
- Maximum printable area for each garment (ask the vendor for their template)
- Preferred garment brand and style number, or ask for their recommendation
- Placement instructions with measurements (e.g., “center chest, 10 inches wide, 3 inches below collar”)
- Approval contact name and turnaround expectation for digital proofs
- Whether you need a physical sample before full production
Timeline and minimums to expect
- Screen printing: Typical minimums of 12–24 pieces per design. Standard turnaround of 7–14 business days after proof approval. Rush production available at added cost.
- Embroidery: Minimums vary by vendor; often 6–12 pieces. Digitizing a new design adds a one-time setup fee. Turnaround similar to screen printing.
- DTF: Lower minimums, sometimes as few as 1 piece. Turnaround often 3–7 business days. Good for testing a new mascot design before committing to a large screen-print run.
- Patches: Minimums typically 50–100 pieces for woven patches. Lead time of 2–4 weeks, longer for overseas production.
For a practical overview of decoration methods by garment type, the decision usually comes down to order size, detail level, and budget per unit.
How do you keep mascot branding consistent across all apparel?
Inconsistent mascot usage fragments identity. When three different vendors produce three slightly different versions of your lion, you no longer have a brand — you have a collection of similar-looking shirts. A short governance framework prevents this.
Core consistency rules
- Single source of truth: One master artwork file, stored in a shared, access-controlled location (Google Drive, Dropbox, or your district’s asset management system). Every vendor gets files from this source, not from a previous vendor’s output.
- Approved color palette: Document your Pantone codes, CMYK values, and RGB/hex codes. Vendors who don’t have Pantone codes will approximate, and approximations drift over time.
- Version control: Name files clearly (e.g., “MascotName_FullColor_v3.ai”) and retire old versions. A vendor using a two-year-old file is a common source of inconsistency.
- Approved treatments only: Define which versions are approved for which uses. The full-body illustration is approved for spirit wear. The head-only mark is approved for caps and left-chest embroidery. The wordmark is approved for staff uniforms. No mixing without approval.
Governance steps
Practical governance doesn’t require a full brand department. It requires three things: an approval workflow, a vendor style guide insert, and a central asset repository.
The approval workflow can be as simple as a one-page form: vendor name, product type, mascot version requested, placement, and a sign-off from the administrator or branding coordinator before production begins. The vendor style guide insert is a one-page PDF you attach to every vendor brief, covering approved colors, file versions, and prohibited uses (no stretching, no color substitution, no adding drop shadows). For more on how consistent custom apparel supports long-term brand identity, the principle applies directly to mascot programs.
What do mascot apparel orders actually cost and how long do they take?
Realistic expectations prevent budget surprises and missed deadlines. Prices vary by vendor, garment, and decoration complexity, so treat these as planning ranges rather than quotes.
Cost ranges by method
- Screen printing: Per-unit costs drop significantly with volume. A small run of 24 shirts with a two-color design will cost more per unit than a run of 144. Expect setup fees per color screen in addition to per-unit costs.
- Embroidery: Priced by stitch count. A simple left-chest logo might run 5,000–8,000 stitches; a detailed full-mascot back design could exceed 20,000 stitches and cost considerably more per piece. One-time digitizing fees apply to new designs.
- DTF: Generally competitive for short runs and full-color designs. Per-unit cost is relatively flat regardless of color count, which makes it attractive for complex mascots in small quantities.
- Patches: Higher per-unit cost at low quantities; cost drops sharply at 100+ pieces.
Ordering tips that lower your per-unit cost
- Consolidate SKUs: Ordering one design across multiple garment styles in one purchase order is almost always cheaper than separate orders.
- Reduce color count: Dropping from five colors to three in a screen-print design can eliminate one or two screens and meaningfully reduce cost.
- Advance ordering windows: Place orders 4–6 weeks before your need date. Rush fees add 15–30% to production costs and compress your proof-approval window.
- Student preorders: Running a preorder through an online spirit store eliminates inventory risk. You only produce what’s sold, and students feel invested in the launch.
Physical sample vs. digital mockup: Request a physical sample for any new mascot design going into embroidery or for a large screen-print run where color accuracy matters. For repeat designs or DTF prints, a digital mockup is usually sufficient.
How does mascot apparel drive school spirit, fundraising, and enrollment?
Spirit wear is not passive merchandise. Treated as a product launch, it becomes a measurable engagement and fundraising tool with signals that reach prospective families.
Student ownership is the most reliable driver of adoption. Student-centered mascot launches correlate with higher adoption and organic marketing reach — students who helped choose the design tell their friends, post photos, and wear the shirt to places beyond campus. Practical tactics:
- Invite a student design committee to review mascot treatment options before finalizing the artwork.
- Recruit student ambassadors to wear and promote new spirit wear at launch events.
- Use social media to show the design process, not just the finished product.
Monetization channels
- Limited-edition drops: A homecoming-specific hoodie or a championship shirt creates urgency and drives sales that a standard catalog item won’t.
- Alumni lines: A retro treatment of the mascot — vintage color palette, distressed print — sells to alumni who want nostalgia, not just current students.
- Online spirit stores: A dedicated school spirit store with preorder capability eliminates inventory guesswork and keeps the mascot visible year-round.
- Event-specific apparel: Graduation, field day, and spirit week shirts with the mascot create recurring revenue without requiring a new design system.
Measuring impact is straightforward: track units sold per launch, social shares of students wearing the gear, and whether enrollment inquiry volume correlates with visible mascot adoption in the community. These signals won’t be precise, but patterns emerge quickly.
What legal and cultural checks must you run before producing mascot apparel?
Skipping this step is how schools end up pulling merchandise after production. Run through this checklist before any mascot apparel goes to press.
Ownership checklist
- Who created the mascot artwork? If a freelancer or agency designed it, do you have a signed work-for-hire agreement or copyright assignment? Without one, the designer may retain rights.
- Does your district have a written policy on mascot ownership and approved use?
- Do you have documentation of all file versions and the date of creation?
Trademark considerations
- Search the USPTO trademark database before commercializing a mascot. If another institution has a registered mark that resembles yours, you face potential infringement exposure.
- If your mascot apparel generates significant revenue, consult district counsel about registering the mark for protection.
- Never use third-party trademarked imagery (professional sports team logos, entertainment characters) on school apparel without a license. This is a common and costly mistake.
Cultural sensitivity checklist
- Does the mascot use ethnic, racial, or cultural imagery that could be harmful or stereotyping?
- Have you consulted with affected communities if the mascot references a specific cultural group?
- Has the design gone through a stakeholder review before public launch?
If legal questions arise during any of these checks, consult district counsel before releasing the design. Contested mascots that go to production create far more disruption than a delayed launch.
What do successful mascot-apparel programs actually look like?
Three short case notes illustrate the design and rollout decisions that separate programs that work from programs that stall.
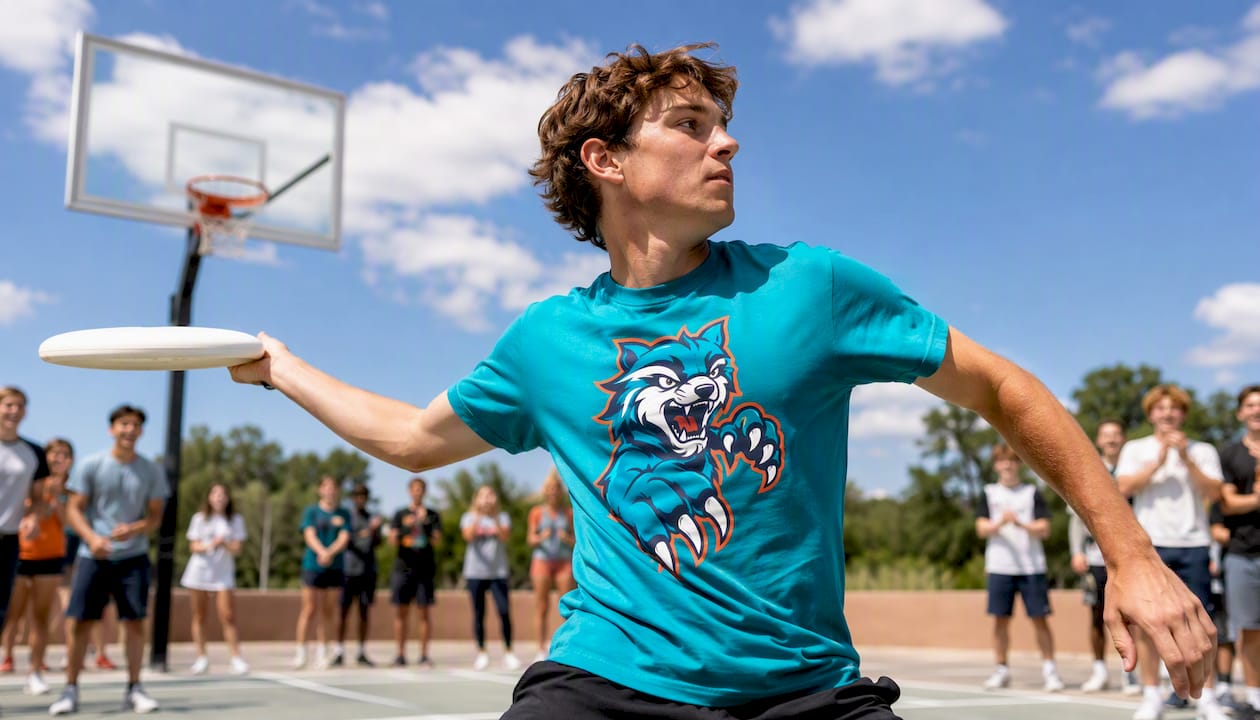
Penn State Nittany Lion: The Nittany Lion works across apparel because Penn State built a multi-version brand system decades ago. The full-body illustration, the head mark, and the wordmark each have defined uses. The result is a mascot that appears on everything from game jerseys to alumni golf shirts without looking inconsistent. The single rollout decision that made it durable: treating the mascot as an institutional asset with governance, not just a logo someone drew once.
UC Santa Cruz Banana Slug: The Slug succeeds because it was chosen by students to reflect the campus’s actual identity, not an aspirational one. The design treatment leans into the mascot’s personality — bright yellow, expressive, unapologetically weird. The rollout decision that worked: leaning into the nontraditional nature rather than softening it for broader appeal. Authenticity drove adoption.
Henderson Collegiate: School branding programs that center students in the mascot launch process consistently report higher adoption and stronger social sharing. When students see their input reflected in the final design, the mascot becomes theirs, not the administration’s.
Universal takeaways:
- Build a multi-version artwork system before you produce anything.
- Match the mascot’s visual personality to the school’s actual culture, not an idealized version of it.
- Involve students in design discovery; their buy-in is the most cost-effective marketing you have.
- Treat the first launch as a product drop, not a passive catalog addition.
For design inspiration on memorable team apparel, the same principles apply: specificity and authenticity beat generic every time.
How do you launch or refresh mascot apparel from scratch?
Follow this checklist in order. Each step feeds the next.
- Audit existing assets: Collect every version of the mascot artwork currently in use. Identify which files are vector, which are raster, and which versions are actually approved.
- Gather student input: Run a brief survey or focus group. Ask which mascot treatments students prefer and which products they’d actually wear.
- Build the design brief: Document approved color codes, required file versions, placement rules, and prohibited uses. This becomes your vendor style guide insert.
- Select decoration methods: Match each product type to the appropriate method (screen print, embroidery, DTF, patches) based on order size, detail level, and budget.
- Request proofs: Get digital mockups for all placements before approving production. For new embroidery designs, request a physical sample.
- Approve and produce: Run the approval workflow. Confirm file versions, color codes, and placement specs match the brief before production begins.
- Launch with intention: Use a preorder window, student ambassadors, and social media to build anticipation. Don’t just put shirts on a table.
- Measure adoption: Track units sold, social shares, and community visibility in the first 30 days.
Vendor-brief starter pack (attach to every quote request)
- Master vector file (full-color) and one-color reduction
- Pantone/spot-color codes for all mascot colors
- Approved placement with measurements
- Garment style number or category preference
- Approval contact and proof turnaround expectation
- Sample request (yes/no) and sample delivery address
Pro Tip: Run your first mascot apparel launch as a preorder through an online spirit store. You’ll learn exactly which products and treatments students want before committing to inventory, and the preorder itself generates buzz.
What Jam4apparel has learned from producing mascot apparel
The most consistent problem on the vendor side isn’t budget or timeline. It’s artwork. Schools arrive with a JPEG, a PDF pulled from a newsletter, or a file that was last touched by a designer who no longer works for the district. The mascot is recognizable, but it’s not production-ready, and the gap between “recognizable” and “production-ready” costs time and money.
The second most common issue is complexity. A mascot that looks great as a full-color illustration on a website often has too much detail for embroidery. Fine lines fill in. Small text becomes unreadable stitching. Gradients that look smooth on screen become halftone dots on fabric. The fix is always the same: simplify before you produce, not after.
Jam4apparel’s in-house production process includes a free design proof before any order goes to production. That proof step catches artwork problems before they become production problems. For schools starting from scratch or refreshing an existing mascot program, the proof process also serves as a design consultation — a chance to see how the mascot actually translates to fabric before committing to a run.
The schools that get the best results treat the mascot as a brand system and the apparel order as a product launch. That mindset, more than any single design decision, is what separates spirit wear that sells from spirit wear that sits in a storage room.
Jam4apparel’s mascot apparel services
Jam4apparel handles every stage of mascot apparel production in-house at our Lake in the Hills, Illinois facility: art prep and design proofs, screen printing for bold multi-color chest graphics, embroidery for cap logos and staff uniforms, DTF transfers for photo-realistic or short-run mascot designs, and custom patches for jackets and accessories. Schools also get access to online spirit wear stores that run preorders and eliminate inventory risk.
The in-house advantage is speed. No outsourcing means fewer handoffs, faster proof turnaround, and tighter quality control from art file to finished garment. Whether you need 24 shirts for a staff event or 500 pieces for a spirit week launch, request a free proof or quote and we’ll show you exactly how your mascot translates to fabric before production begins.
Sources
- Probing question: Why do schools have mascots? | Penn State
- What is a Mascot? Why Schools Have Mascots & Purpose
- School Mascot History: How Mascots Build School Identity and Pride | Digital Trophy Case
- Why Mascots Matter: The Emotional Power Behind School Symbols
Recommended
Ready to print your design?
Screen print, embroidery, and DTF — no minimums on many styles.