How to Coordinate Your Contractor Crew Apparel Look
August 7, 2026
How to Coordinate Your Contractor Crew Apparel Look
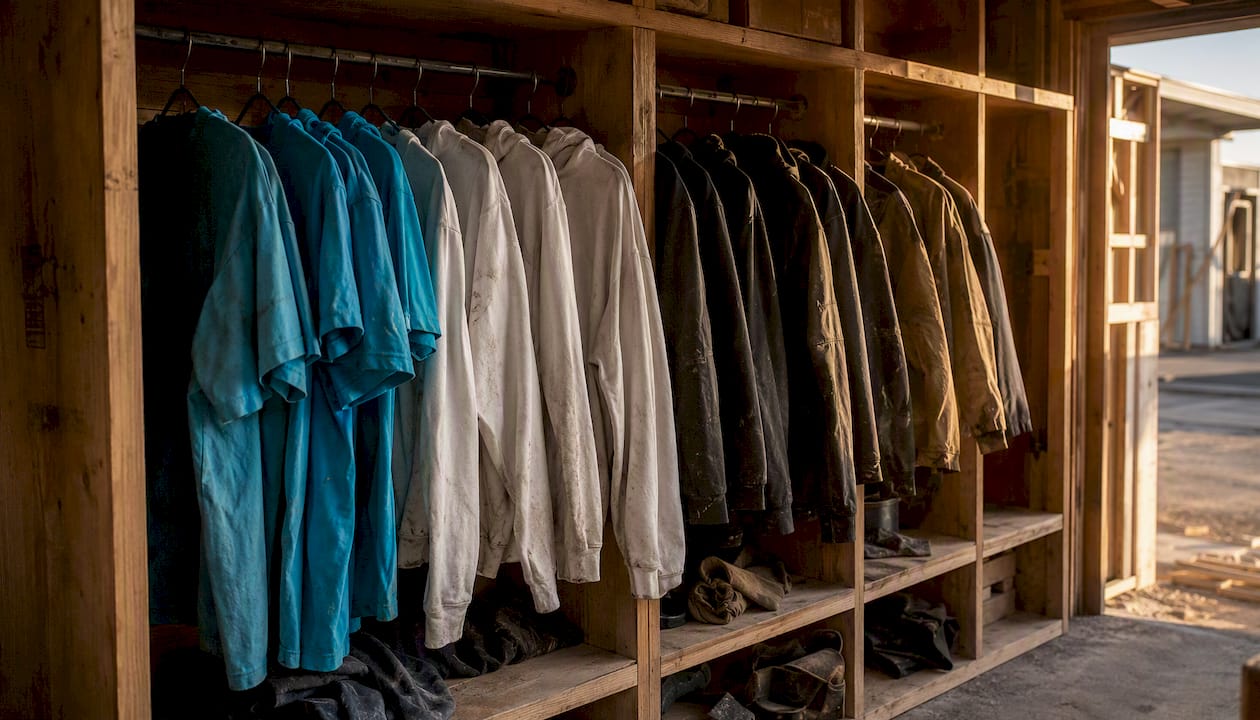
A coordinated contractor crew look comes down to five core pieces: a branded daily tee or polo, a hi-vis garment where the job requires it, a mid-layer hoodie or zip-up, a weather-resistant outer shell, and a logo’d hat or beanie. Get those five items standardized across your crew, and you have a program. Everything else is refinement.
Your starter kit, ready to order:
- Branded short-sleeve tee or polo (daily wear, 2 per person)
- Hi-vis safety vest or shirt (ANSI Class 2 minimum for most road and site work)
- Midweight hoodie or quarter-zip (shoulder-season and cold-morning layer)
- Water-resistant softshell or jacket (outer shell for wet or cold days)
- Structured hat or beanie with embroidered logo
Pilot the kit on a small group of crew members first, collect fit feedback after two weeks, then open a team store for your crew so every new hire can order their own sizes on demand. For a quote, reach out to Jam4apparel directly.
Table of Contents
- What does a complete contractor uniform program include?
- How do you choose fabrics and layers for year-round crew comfort?
- How do you differentiate supervisors, techs, and specialists without visual chaos?
- What are the rules for logo placement, color, and decoration method?
- Which workwear brands do contractors actually rely on?
- When is hi-vis or flame-resistant clothing required on your job site?
- How do you manage sizing, team stores, and reorders without micromanaging?
- What does a crew apparel program actually cost?
- How do you roll out a crew apparel program in 4–8 weeks?
- How Jam4apparel supports contractor uniform programs
- Key Takeaways
- What most managers get wrong about crew apparel programs
- Ready to outfit your crew? Here’s how to get started with Jam4apparel
- Useful sources and standards
What does a complete contractor uniform program include?
A uniform program is more than a pile of shirts. It is a documented system: a garment catalog, approved logo placement rules, a supervisor ordering workflow, and a replacement cadence. Without those operational pieces, you end up with mismatched logos, wrong sizes, and supervisors improvising their own orders. Structured construction uniform programs consistently improve onboarding speed and brand consistency across multiple job sites.
Head-to-toe garment inventory:
- Daily shirts: short-sleeve tees for summer, long-sleeve performance tees for shoulder seasons
- Hi-vis garments: ANSI-rated vests, shirts, or jackets depending on job type
- Mid-layers: hoodies, quarter-zips, or fleece pullovers
- Outer shells: water-resistant softshells, insulated jackets, or rain gear
- Pants: work pants or cargo pants in a standard color (navy, khaki, or black)
- Headwear: structured caps for warm months, beanies for cold
- Gloves and PPE: site-specific; sourced separately from the branded apparel program
Role-based garment mapping:
| Role | Daily Shirt | Mid-Layer | Outer Shell | Hi-Vis |
|---|---|---|---|---|
| Field tech | Branded tee | Hoodie | Work jacket | Vest or hi-vis shirt |
| Supervisor | Polo | Quarter-zip | Softshell | Vest (when on site) |
| Specialist/trade | Performance tee | Hoodie or fleece | Insulated jacket | Per trade requirement |
| Estimator/client-facing | Button shirt or polo | Branded fleece | Softshell | Rarely required |
Operational pieces matter just as much as the garments. Keep a spec sheet on file with your decorator (logo files, approved placement coordinates, approved colors), set a reorder threshold (replace garments after one season or when visibly worn), and designate one person per site as the ordering contact.
How do you choose fabrics and layers for year-round crew comfort?
The goal is a three-layer system where every piece works with the others. Field crews in Illinois or the Midwest face 90°F summers and sub-zero wind chills in January, so the same program has to cover both without doubling your SKU count. Layering a wicking base, an insulating mid-layer, and a protective outer shell is the standard approach on construction sites, and it works because each layer does one job well.
Summer:
- Moisture-wicking polyester or poly-cotton blend tees (at least 50% poly for sweat management)
- Lighter colors (light gray, white, or light blue) reduce heat absorption
- SPF-rated or antimicrobial options for crews working in direct sun all day
Shoulder seasons (spring and fall):
- Midweight hoodies (8–10 oz fleece) or quarter-zips that layer cleanly under a shell
- Long-sleeve performance tees as a standalone on mild days
- Zip-up fleeces work better than pullovers for crews who move between heated cabs and outdoor work
Cold and wet weather:
- Insulated softshells or 3-in-1 jackets for versatility
- Ripstop or duck canvas for crews doing heavy physical work where abrasion is a factor
- Waterproof membranes (look for taped seams and DWR coating) for rain-heavy regions or winter work
- Insulated bibs for crews working outdoors in sustained cold
Pro Tip: Standardize on two or three compatible layers per season so pieces interchange across roles. A field tech and a supervisor wearing the same hoodie under different outer shells still look unified, and you cut your SKU count in half.
How do you differentiate supervisors, techs, and specialists without visual chaos?
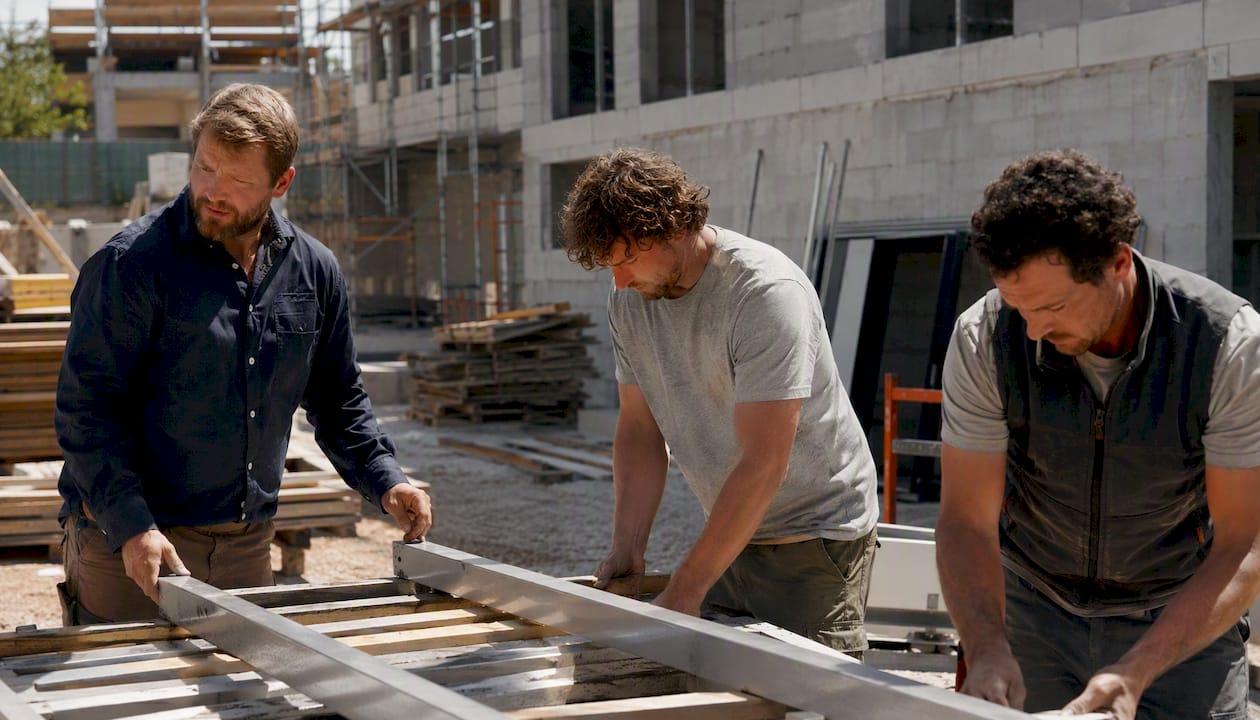
The principle is simple: limit the number of visual variables, then use one or two deliberate differences to signal role. If you change the shirt color, the logo size, the placement, AND the garment style all at once, the crew looks like a collection of different companies. Pick one or two differentiators and hold everything else constant.
What to keep consistent across all roles:
- Logo placement (always left chest, always the same size)
- Brand color palette (primary color on the main garment, accent color on trim or secondary pieces)
- Headwear style and logo
Where to introduce role differentiation:
- Field tech: branded tee plus hoodie. Functional, durable, easy to replace.
- Supervisor: polo instead of tee, softshell instead of hoodie. The polo reads as a step up without requiring a separate color scheme.
- Estimator or client-facing: branded button shirt or performance polo. For client meetings, a well-fitted polo with a clean embroidered logo does more for your brand than any amount of matching tees. Tailored silhouette and fit carry more weight than most managers expect when a crew member is standing in front of a homeowner.
- Specialist/trade: same base tee as field techs, but with a role-specific patch or a different accent color on the sleeve to signal their trade.
Keep accent colors to one. Two accent colors plus a primary color is three colors, and three colors on a worksite look like a mistake, not a design decision.
What are the rules for logo placement, color, and decoration method?
Logo placement is the single most important consistency rule in any crew uniform design. A logo on the left chest of one shirt and the center chest of another looks like two different companies, even if the logo is identical. Keeping logo placement consistent across all garments is a non-negotiable for professional contractor outfits.
Recommended placements and maximum sizes:
- Left chest: 3.5–4 inches wide (standard for tees, polos, and jackets)
- Upper back: up to 12 inches wide (tees and hoodies; great for visibility on a job site)
- Hat center front: 2–2.5 inches wide (embroidery only; printing on structured caps rarely holds)
- Sleeve: 2–3 inches wide (secondary logo or trade identifier)
Color palette rules:
- Choose 2–3 base shirt colors maximum (e.g., black, navy, and safety orange or gray)
- Use your primary brand color as the dominant garment color
- Reserve accent colors for logo elements, not entire garments
Decoration method by garment:
| Garment | Best Method | Why |
|---|---|---|
| Polo, softshell, jacket | Embroidery | Durable through heavy washing; professional finish on structured fabrics |
| Structured hat | Embroidery | Holds shape on curved surfaces; screen print cracks on caps |
| Bulk tees (large back print) | Screen printing | Cost-effective at volume; vibrant on flat fabric |
| Complex artwork or full-color logo | DTF transfer | Handles gradients and fine detail that screen print cannot |
| Custom patches | Sewn or iron-on patch | Adds a premium look; easy to swap between garments |
Embroidery costs more per piece but outlasts screen print by years on outerwear and polos. For bulk tees where you are ordering 50 or more at a time, screen printing is the cost-effective call. Most programs use both: embroidery on the pieces that get washed hard and worn long, screen print on the high-volume daily tees.
Which workwear brands do contractors actually rely on?
The brands contractors reach for most often each own a specific niche. No single brand dominates every category, which is why most programs mix two or three of them depending on the role and season. The most-used brands among contractors include Carhartt, Dickies, Duluth Trading Company, Truewerk, Helly Hansen, and Blaklader.
| Brand | Best For | Season/Use Case |
|---|---|---|
| Carhartt | Durable outerwear, duck canvas work pants | Cold weather, heavy labor |
| Dickies | Value-priced work pants and shirts | Year-round, budget-conscious programs |
| Duluth Trading Company | Multi-pocket work pants, fire-resistant options | Year-round, trade specialists |
| Truewerk | Technical performance workwear, moisture management | Hot weather, precision trades |
| Helly Hansen | Waterproof shells, rain gear | Wet climates, outdoor winter work |
| Blaklader | Heavy-duty pants, knee protection, high-visibility | European-standard durability; popular in commercial construction |
Material recommendations by use:
- Poly-cotton blends (60/40): best for daily tees; balances moisture-wicking with print durability
- Duck canvas: Carhartt’s signature; excellent abrasion resistance for ground crews
- Ripstop nylon: lightweight and tear-resistant for utility vests and lighter jackets
- Waterproof membranes (Gore-Tex or proprietary DWR): Helly Hansen’s strength; use for sustained wet-weather work
Care tips that extend garment life:
- Wash work garments inside-out in cold water to protect printed logos
- Tumble dry low or hang-dry embroidered pieces to prevent thread distortion
- Spot-treat stains before washing; hot water sets most construction-site stains permanently
- Inspect garments at the start of each season and replace pieces showing fraying seams or faded logos before they become a brand liability on a client-facing job
When is hi-vis or flame-resistant clothing required on your job site?
Hi-vis and flame-resistant (FR) clothing are not optional branding choices on the jobs that require them. They are safety requirements, and getting them wrong creates liability. The ANSI/ISEA 107 standard governs high-visibility apparel in the U.S., and OSHA references it for public-sector and federally funded work.
ANSI/ISEA hi-vis classes at a glance:
- Class 1: minimal traffic exposure, speeds under 25 mph (parking lots, warehouses)
- Class 2: moderate traffic exposure, speeds 25–50 mph (most road construction, utility work)
- Class 3: high-speed traffic or complex backgrounds (highway work, flaggers, survey crews near traffic)
Most commercial and residential construction crews need at least Class 2 when working near active traffic. If your crew is entirely on a fenced private site with no vehicle traffic, Class 1 or no hi-vis may be acceptable, but verify with the general contractor’s safety plan.
When FR clothing is required:
- Electrical work near energized equipment (NFPA 70E governs arc flash protection)
- Torch or welding operations
- Work near flammable gases or liquids
- Subcontractor specs that explicitly require FR-rated garments
Checklist for per-job safety garment decisions:
- Review the GC’s site safety plan before mobilizing
- Identify all tasks with traffic, electrical, or flame exposure
- Confirm ANSI class required for hi-vis (Class 2 covers most situations)
- Check that hi-vis garments carry a visible ANSI/ISEA certification label
- Document FR requirements in your subcontract scope and keep a copy on file
- Do not brand hi-vis garments with large logos that cover retroreflective tape; placement must preserve the tape’s visibility
Note: Safety garment requirements vary by job type, jurisdiction, and contract. Always verify current OSHA and ANSI standards with the project’s safety officer or a qualified safety consultant before finalizing your program.
How do you manage sizing, team stores, and reorders without micromanaging?
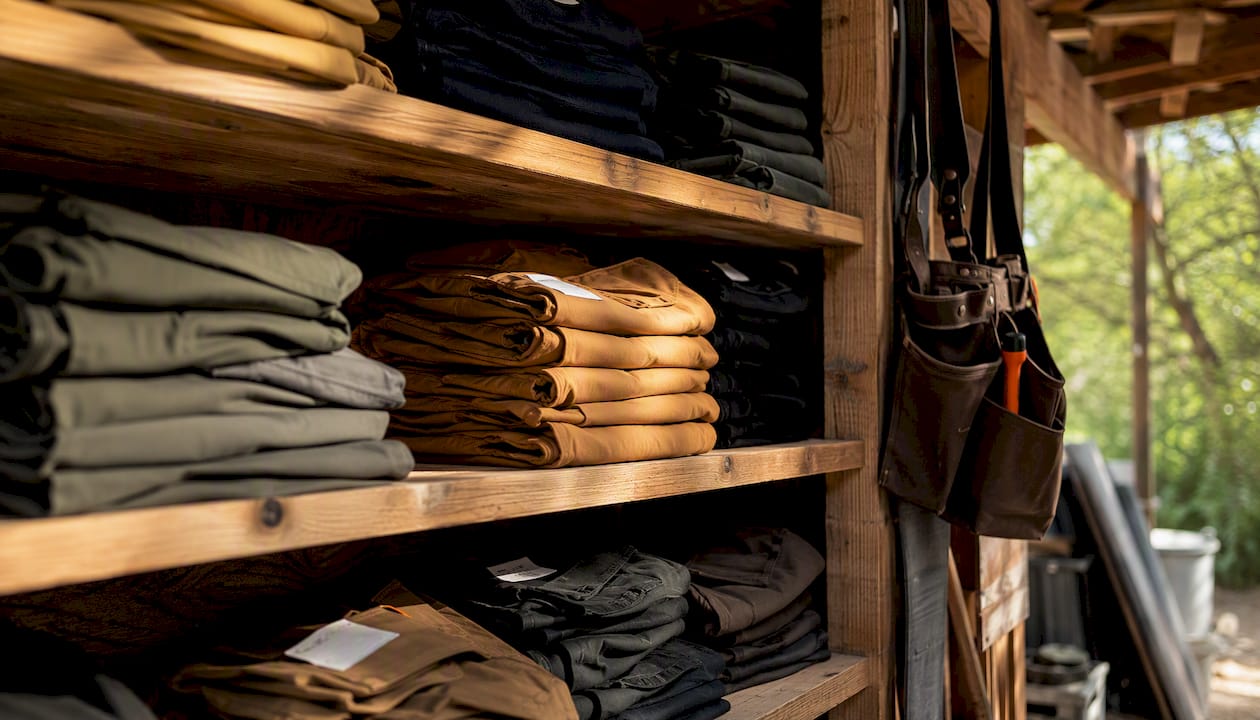
The two main ordering models are centralized bulk orders and per-person team stores, and they solve different problems. A well-structured uniform program handles both, but knowing which fits your operation saves real money.
Centralized bulk ordering works when you have a stable crew size, predictable turnover, and a manager who can track inventory. You order a set quantity by size, store them, and issue garments as needed. The tradeoff: you carry inventory risk, and sizes are always slightly wrong for someone.
Per-person team stores let each crew member order their own size directly from an online store pre-loaded with your approved garments and logos. No inventory to manage, no size guessing, and new hires can self-onboard. The tradeoff: per-piece cost is slightly higher than bulk, and you need a minimum order threshold to keep the store active.
Rollout operations checklist:
- Collect crew sizes before ordering (use a simple Google Form or paper sheet)
- Order a sample run of 5–10 pieces across your size range before committing to full quantity
- Set a reorder threshold: replace garments after one full season or when a crew member reports visible wear
- Keep your logo files on file with your decorator so reorders take hours, not days
- Assign one ordering contact per site to prevent duplicate or conflicting orders
Pilot and scale rules:
- Issue 2 tees, 1 hoodie, 1 hat, and 1 hi-vis vest per new hire as a starter kit
- Offer a full replacement set annually; allow mid-season replacements for damaged pieces
- For crews over 20 people, a team store almost always pays for itself in time saved
Pro Tip: Issue sample sizes during the pilot phase before placing the full order. One size-fitting session with 8–10 crew members will catch the fit issues that generate returns and complaints during the full rollout.
What does a crew apparel program actually cost?
Budgeting for crew apparel is straightforward once you break it into per-head annual cost. The numbers below are general market ranges; your actual pricing depends on garment brand, decoration method, and order quantity.
Typical per-piece price ranges:
- Economy tee (screen printed, bulk): $8–$15 per piece
- Performance tee or polo (embroidered or printed): $18–$35 per piece
- Midweight hoodie (embroidered logo): $25–$45 per piece
- Hi-vis vest or shirt (ANSI-rated, printed): $15–$30 per piece
- Softshell or insulated jacket (embroidered): $45–$90 per piece
- Structured hat (embroidered): $12–$25 per piece
Simple per-head annual budget formula:
Starter kit cost × number of rotations per year × replacement frequency = annual per-head budget.
For example: a starter kit of 2 tees + 1 hoodie + 1 hat + 1 hi-vis vest at mid-range pricing runs roughly $80–$130 per person. If you replace the full kit once a year and issue a mid-season tee replacement, budget $100–$160 per crew member annually.
Cost-saving levers:
- Hit minimum order quantities (typically 12–24 pieces) to unlock bulk pricing
- Use embroidery only on the left chest of outerwear; save screen print for large back prints on tees
- Standardize on two base colors to reduce setup fees across orders
- Keep logo files vector-format (.ai or .eps) to avoid re-digitizing fees on every reorder
How do you roll out a crew apparel program in 4–8 weeks?
A phased rollout prevents the two most common mistakes: ordering the wrong sizes in bulk and locking in a logo placement that looks wrong on the actual garment. Involving crew members in wear-testing before full production is the step most managers skip and almost all of them regret.
Step-by-step rollout plan:
- Discovery (Week 1): Collect crew sizes, map roles, identify safety requirements (hi-vis class, FR needs), and confirm logo files are in vector format.
- Spec and sample request (Week 1–2): Submit garment preferences, logo placement specs, and decoration method to your decorator. Request a digital proof and, if possible, a physical sample of the primary garment.
- Pilot wear-test (Weeks 2–4): Issue the starter kit to 5–10 crew members. Have them wear the garments on actual job sites for two weeks.
- Feedback collection (Week 4): Ask specifically about fit (too short in the torso? sleeves too long?), logo visibility, pocket placement, and laundering results. A short five-question form works fine.
- Spec refinement (Week 4–5): Adjust size run, garment style, or placement based on feedback. Approve the final digital proof.
- Full production order (Week 5–6): Place the full order. Standard production lead times run 7–14 business days for most decorated apparel programs.
- Delivery and issuance (Week 6–8): Receive, inspect, and issue garments. Brief supervisors on replacement cadence and reorder process.
What to measure during the pilot:
- Comfort and range of motion (especially for trades doing overhead work)
- Logo visibility at 20 feet (the distance a client or inspector sees your crew from)
- Laundering results after five wash cycles
- Durability of decoration (no cracking, peeling, or thread pulls)
How Jam4apparel supports contractor uniform programs
Jam4apparel handles the full production chain in-house: screen printing, embroidery, DTF transfers, and custom patches for construction crews of any size. That matters operationally because in-house production means faster turnaround and a single point of contact from proof to delivery, with no outsourced decoration adding days to your timeline.
The process runs like this: you submit your crew size, role breakdown, logo files, and garment preferences. Jam4apparel produces a digital proof for approval, then moves to production. For programs with ongoing reorder needs, Jam4apparel sets up a logo-on-file system so repeat orders skip the proof stage and ship faster. Team stores are available for crews that want per-person on-demand ordering.
For construction company apparel programs, Jam4apparel’s catalog covers the full garment range: branded tees, polos, hoodies, softshells, hi-vis-compatible vests, and structured hats. The Chicagoland-based operation serves contractors across the region with competitive bulk pricing and the kind of turnaround that fits a job site schedule, not a slow wholesale timeline.
Key Takeaways
A coordinated contractor crew apparel program requires five core garments, a documented spec, and a phased rollout that starts with a pilot before committing to full production.
| Point | Details |
|---|---|
| Five core pieces | Branded tee or polo, hi-vis garment, mid-layer hoodie, outer shell, and logo’d hat cover year-round needs. |
| Standardize logo placement | Left chest at 3.5–4 inches wide on every garment; never vary placement across roles. |
| Role-based differentiation | Use one or two garment-type differences (polo vs. tee, softshell vs. hoodie) rather than changing colors or logos. |
| Pilot before full order | Test 5–10 crew members for two weeks; measure fit, logo visibility, and laundering before placing the full quantity. |
| Jam4apparel for in-house production | Jam4apparel handles screen printing, embroidery, DTF, and team stores with fast turnaround for contractor programs. |
What most managers get wrong about crew apparel programs
The conventional wisdom says the hardest part of a crew apparel program is choosing the right brand or the right decoration method. It is not. The hardest part is getting crew members to actually wear the garments consistently, and that problem almost always traces back to fit.
Managers who skip the pilot phase and order full quantities based on a size chart end up with a warehouse of shirts that are too short in the torso for the guys doing overhead work, or too boxy for the estimators who wear them to client meetings. The garments sit in a box. The crew goes back to their own clothes. The program fails not because the logo was wrong but because nobody asked the crew what fit them.
The second mistake is too many SKUs. Every time you add a color variant or a role-specific garment style, you add a reorder complexity. A program with seven shirt colors and four logo placements is not a program; it is a sourcing headache. The best programs I have seen run on two base colors, one logo placement, and one or two garment-type differences between roles. Simple enough that a new supervisor can manage it without a manual.
The third mistake is treating hi-vis as optional branding. A Class 2 vest costs less than $20. A OSHA citation for missing hi-vis on a road-adjacent site costs considerably more, and the liability exposure is worse. Build hi-vis into the standard kit for any crew that works near traffic, and document the decision.
One last thing: crew buy-in is not a soft concern. When crew members have input on the garment style and fit, they wear the uniform. When a manager orders 200 shirts without asking anyone, half of them end up in the back of a truck. A two-week pilot with honest feedback collection is the single highest-return step in any branded apparel rollout.
Ready to outfit your crew? Here’s how to get started with Jam4apparel
Jam4apparel gives contractor crews a faster path to a finished, professional uniform program than sourcing garments and decoration separately. In-house screen printing, embroidery, and DTF mean one vendor, one proof process, and one turnaround timeline, without the back-and-forth of coordinating a printer and a blank-goods supplier.
To request a quote, have these ready: total crew size, size breakdown, preferred garments (tees, polos, hoodies, hi-vis, hats), your logo file in vector format (.ai or .eps), and any safety compliance requirements (ANSI class or FR). Jam4apparel will produce a digital proof, confirm specs, and move to production. Standard turnaround for most decorated programs runs 7–14 business days from proof approval.
Visit Jam4apparel’s custom apparel page to browse construction-specific options, or go directly to jam4apparel.com to request a quote and get your program started.
Useful sources and standards
Use these resources to verify safety certifications, check brand specs, and go deeper on program structure.
- Construction Uniform Supplier Texas | Work Shirts & Crew Apparel Programs — Pro Goodie Promotion
- The Complete Guide to Branded Apparel for Contractors — Personal Graphics
- The 7 Best Workwear Brands for Contractors and Construction Workers
- Q: What is an apparel contractor? - ZipRecruiter
- A new era of style: Introducing the Distinctly Delta uniform collection | Delta News Hub
- Construction Site Workwear Guide
- Custom Apparel by Industry | Jam 4 Apparel
Always check product certification labels for ANSI/FR claims before purchasing. Request a spec sheet from any vendor supplying safety-rated garments, and confirm current standards with your project’s safety officer before finalizing your program.
Recommended
Ready to print your design?
Screen print, embroidery, and DTF — no minimums on many styles.