12×14–13×16 Back Print Size Printers Use, 300 DPI and Seam Safe
August 30, 2026
12×14–13×16 Back Print Size Printers Use, 300 DPI and Seam Safe
For most adult tees, use a full back print between 12×14 and 13×16 inches, placed about 2 to 4 inches below the collar seam. Youth garments usually scale down to roughly 10×12 inches. Build every file at final print size at 300 DPI, so a 12×16 in design comes in at 3600×4800 pixels. Get those three numbers right and everything else in production tends to fall into place.
TL;DR:
- Keep full back designs between 12x14 and 13x16 inches, with placement about 2 to 4 inches below the collar seam for adult tees.
- Use 300 DPI when building files to ensure crisp edges, with raster art at least 150 DPI accepted by some providers.
- Measure placement on flat garments, maintaining accurate distance from the collar, seams, and hem for consistent results.
- Adjust design size slightly for larger sizes or heavy-shoulder cuts, and avoid placing artwork too close to side seams or the hem.
- Run a preflight proof on actual garments to catch placement and resolution issues before full production, preventing costly reprints.
Table of Contents
- Back Print Size Chart: Inches, Pixels, and Placement
- How Do You Measure Back Print Placement Correctly?
- What File Specs Do You Need for a Crisp Back Print?
- Does the Print Method Change the Ideal Size?
- How Should You Scale One Design Across Sizes?
- Preprint Checklist: Catch These Mistakes First
- How Jam4apparel Handles Back Print Production
- Ready to Get Your Back Print Sized Right?
- A Note on Getting the Size Right the First Time
- Sources
Back Print Size Chart: Inches, Pixels, and Placement
Every back graphic falls into one of five size categories, and each one carries its own placement logic. Print shops work off inches for cutting and press setup, but designers need pixel counts to actually build the file. The table below covers both, at the two DPI standards you’ll run into most: 300 DPI for crisp screen printing and DTF work, and 150 DPI, which some DTG providers accept as a floor.
Youth garments run smaller across the board. A youth full back typically tops out around 10×12 inches, and locker patches shrink to about 1.5×1.5 inches so they don’t overwhelm a smaller torso. The upper-back category, sometimes called a nape print or signature mark, is the one people misjudge most. It’s meant to read like a small brand tag, not a second full-back design, and DTF Station’s placement guidance puts it directly under the collar seam rather than several inches down.
How Do You Measure Back Print Placement Correctly?
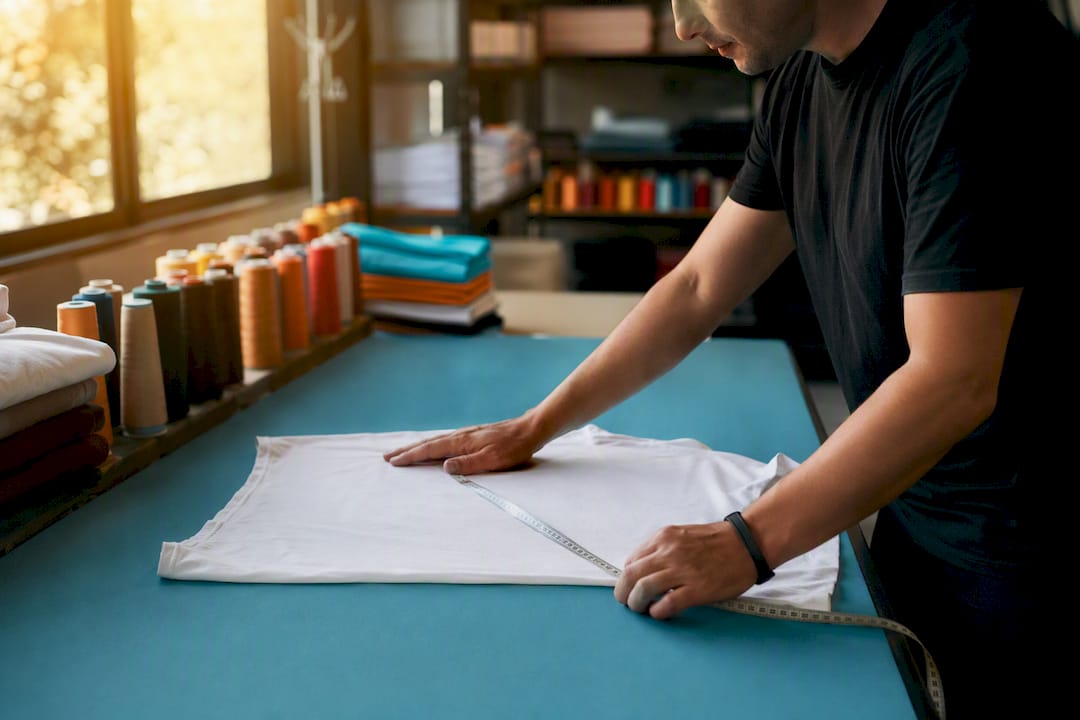
Lay the garment flat on a table, collar side up, and smooth out any wrinkles before you measure anything. Placement mistakes almost always trace back to skipping this step and eyeballing it on a hanger instead.
The standard rule is straightforward: the top of a full back design sits 2 to 4 inches below the collar seam. Use 2 inches for youth sizes and fitted cuts where you want the design higher on the back. Use 3 to 4 inches for standard adult crew necks, which gives the design room to breathe without crowding the collar. Turnkey Transfers’ sizing data backs a 2 to 3 inch starting point on most adult tees, then adjusts up depending on garment cut.
A few things change that baseline measurement:
- Raglan and athletic cuts often need placement 3 to 4 inches down because the shoulder seams sit lower and crowd a 2 inch placement.
- Hoodies typically need an extra inch of drop below the collar to clear the hood seam and drawstring hardware.
- V-necks pull the back placement up slightly since the collar sits higher relative to the shoulder blades.
- Centering should always run off the garment’s vertical fold line, not the printed seam, since seams can sit slightly off-center on lower-cost blanks.
- Keep at least a 1 inch margin from both side seams and the hem to avoid any part of the design wrapping around the garment.
Pro Tip: Print your artwork on paper at the exact target size, tape it to a sample shirt, and step back ten feet. If it looks too big or too high in person, it will look that way on the finished run too.
What File Specs Do You Need for a Crisp Back Print?
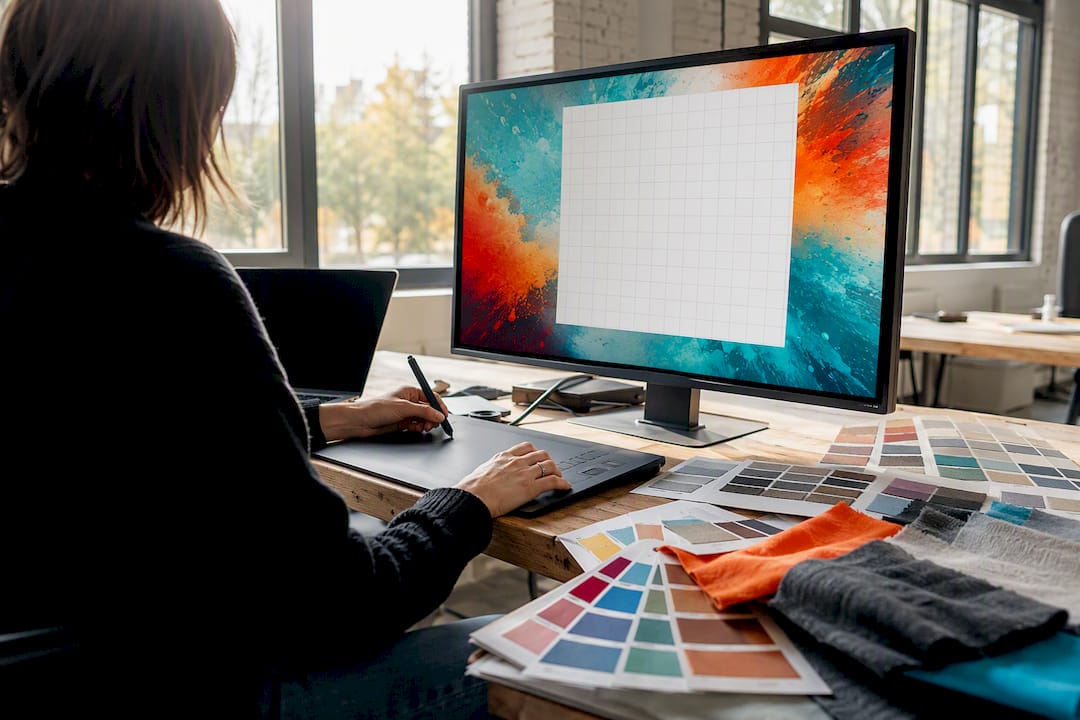
Build your artwork at the exact final print size, not a scaled-down version you’ll enlarge later. Design a 12×16 inch back print as a 12×16 inch canvas at 300 DPI, which lands at 3600×4800 pixels. A 13×16 inch print comes out to 3900×4800 pixels, and a 10×12 inch youth design needs 3000×3600 pixels.
Pro Tip: 300 DPI is the number that keeps edges sharp on close inspection. Some DTG shops will run files as low as 150 DPI, but you’ll usually see soft edges on fine text or thin linework once it’s on fabric.
File prep checklist for production:
- Supply vector files (AI, EPS, SVG) whenever the design allows it, since vector art scales to any size without quality loss.
- For raster art, use PNG or TIFF with a transparent background, not JPG, which flattens transparency and compresses detail.
- Include a flattened PDF as a backup so production can quickly verify layout and color without opening a design file.
- Build in a 0.25 inch bleed on designs that run close to seams, and keep critical text or logos at least 0.5 inch inside the safe area.
- Name files with the design size and garment color baked in, like
FullBack_12x16_Black.png, so nothing gets mixed up on press.
One number worth remembering: 300 DPI at final size is the single spec that most often separates a crisp back print from a fuzzy one, according to guidance from T-Shirt Design Size by Placement. Get that right before worrying about anything else in the file.
Does the Print Method Change the Ideal Size?
Yes, and this is where a lot of otherwise good artwork gets sent back for rework. Each print method has its own physical limits.
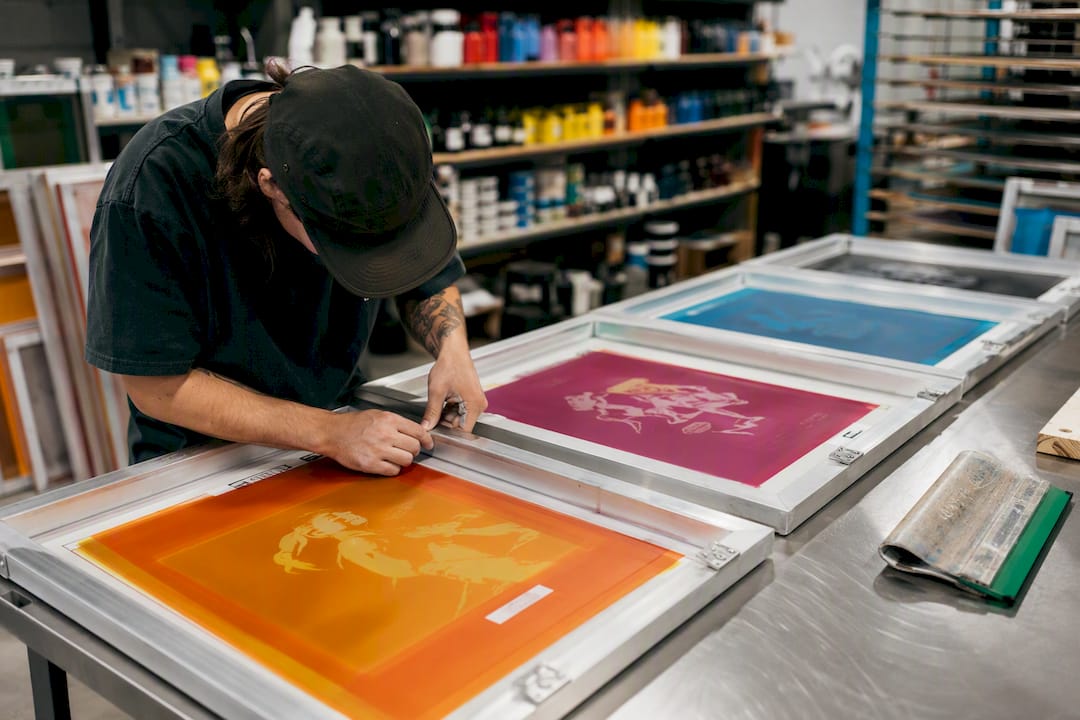
Screen printing relies on color separations and film, so registration tolerance matters more as designs get bigger. A design with five overlapping colors at 14×16 inches is harder to keep in perfect alignment than the same design at 12×14 inches. Simpler designs with fewer colors and cleaner edges scale up far more reliably. Screen printing also has a hard press-frame limit, so anything pushing past roughly 16 inches tall needs a shop check before you commit to a size.
DTG prints photographic detail well, but garment color and pretreatment affect the outcome. Dark shirts need a white underbase layer, which can slightly soften fine detail compared to printing on white cotton. Minimum DPI realities matter here too, since DTG struggles more visibly than screen printing when resolution drops below 150.
DTF and heat transfers carry their own ceiling based on transfer sheet size, and the transfer edge can become visible over time if the design sits too close to a seam. A 1 inch safety margin from seams matters more with heat transfer than with direct screen printing, since the transfer film itself has a physical border.
- Reduce size slightly on any garment with heavy side seams or a fitted cut, to avoid wrap.
- Oversize prints (14×17 in and up) are realistic mainly on 2XL and larger garments with extra flat back panel.
- Simpler, bolder art tolerates size changes across methods better than fine detail does.
How Should You Scale One Design Across Sizes?
One piece of artwork rarely fits every garment size identically, and treating S through 5XL the same is a common source of awkward-looking back prints.
- For sizes S through XL, keep the design at your standard recommended size, since the back panel dimensions stay fairly consistent across that range.
- For 2XL and up, add roughly 0.5 to 1.0 inch to the width to match the wider back panel, or prepare a second artwork file if the design has fine detail that needs to stay proportional.
- For youth runs, scale the adult design down by roughly 20 to 30%, and check that any text doesn’t drop below a legible minimum, generally no smaller than 0.5 inch tall.
- Document each size variant in a simple size map (S/M/L one file, 2XL+ a second file, youth a third) so production knows exactly which separations or transfer files apply to which order.
Preprint Checklist: Catch These Mistakes First
Run through this before you send files to production:
- Confirm pixel dimensions match your target print size at 300 DPI, not a lower-resolution placeholder.
- Measure placement on an actual sample garment, not just on screen.
- Check color mode (CMYK for most print methods) and flag any neon or metallic inks that need special handling.
- Request a preflight proof before the full run goes to press.
The most common mistakes: low-resolution art stretched past its native size, designs placed too close to the collar, and artwork sized without accounting for seam wrap on fitted cuts. If something looks off on the proof, flag it with production immediately rather than after the run starts. Fixing a placement issue on one sample shirt costs minutes; fixing it across 200 finished shirts does not.
How Jam4apparel Handles Back Print Production
Jam4apparel runs screen printing, embroidery, and DTF in-house out of Lake in the Hills, Illinois, which shortens the proof cycle considerably. Files don’t leave the building to get checked. Here’s the workflow on a typical back print order:
- Upload art. Send your file (vector preferred, high-res raster accepted) through the design proof request.
- Preflight by production. The team checks resolution, color mode, and placement against the garment style before anything touches a press.
- Sample proof. You get to see the design on the actual requested garment, not just a mockup, before committing to a full run.
- Approve and run. Once the sample checks out, the full order goes to press with the same specs.
That sample-proof step exists specifically to catch the placement and sizing issues covered above, before they show up on fifty finished shirts instead of one. It’s a small step that ordering teams sometimes want to skip, and it’s the one that ends up mattering most.
Ready to Get Your Back Print Sized Right?
Jam4apparel gives you something a generic online print calculator never can: an actual person checking your file before it hits a press. That matters most on back prints, since a placement or resolution issue is invisible on a screen and obvious the second the shirt comes off the machine.
Whether you’re outfitting a martial arts academy, a school spirit wear store, or a company uniform order, Jam4apparel handles screen printing, embroidery, and DTF transfers in-house, with no minimum order requirement on small-batch DTF runs. Every order gets a free design proof before production, so you see exactly how your back print sizing and placement will look on the actual garment color you chose, not a mockup. If you’re deciding between print methods for a bigger detailed design, the team can walk you through which option holds up best at your target size.
Upload your artwork or request a quote through the screen printing order page and get a proof back before you commit to a full run.
A Note on Getting the Size Right the First Time
The back panel of a t-shirt is unforgiving. Unlike a chest print, there’s no way to hide a placement mistake with a jacket or lanyard, so the size and position decisions covered here carry more weight than most designers assume going in.
The biggest gap I see between what people plan and what actually prints well isn’t ambition. It’s skipping the sample. A design that looks perfect at 100% zoom on a monitor can read completely differently at 14 inches on fabric, and the only way to know for certain is to see it on the actual shirt before the full order runs.
— Adam
Sources
- Placement t shirt design size chart: 15 print rules
- T-Shirt Design Size by Placement (+ DPI & File Specs)
- Artwork Size Calculator — DTF & Heat Press Sizing Guide | Turnkey Transfers
- Transfer Placement & T-Shirt Design Size Chart | DTF Station
Recommended
Ready to print your design?
Screen print, embroidery, and DTF — no minimums on many styles.